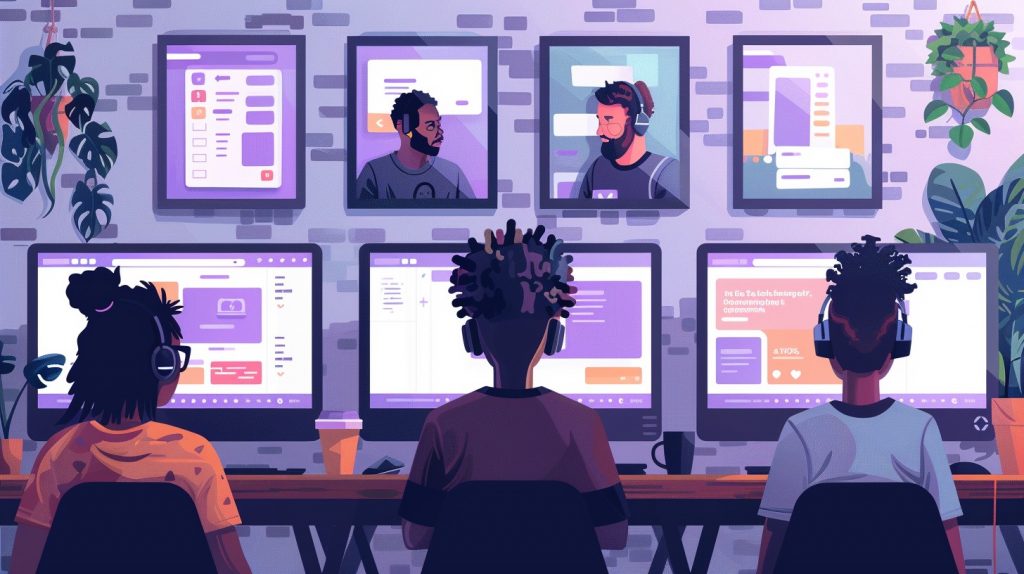
Starting your streaming journey on Twitch can feel overwhelming. With so much gear and software available, it’s hard for beginners to figure out where to begin. What exactly do you need for a Twitch streaming setup?
Like many hobbies or side hustles, it’s easy to get lost in an endless maze of advice and expensive upgrades. But the truth is, you don’t need a lot to get started. If you’re ready to dive into Twitch streaming, here’s a simple guide to help you begin.
The ultimate guide to building your Twitch streaming setup
Ready to kick off your Twitch streaming journey but unsure where to start? This comprehensive guide covers everything you need to create the ideal streaming setup — from selecting the right equipment to choosing the best software and mastering key tips for success.
Essential software for Twitch streaming
To start streaming on Twitch, the only software you truly need is a reliable live streaming application. While there are several options available, I highly recommend OBS Studio for beginners and seasoned streamers alike. It’s completely free, highly versatile, and delivers everything you need to get started — what more could you ask for?
Setting up OBS Studio is simple and straightforward. Follow these steps to get started:
Step 1: Install OBS and run the auto-configuration wizard
Download and install OBS Studio, then launch the auto-configuration wizard. This useful tool automatically adjusts the software’s settings to suit your computer’s hardware and streaming needs. During setup, you’ll also have the option to connect your Twitch account, enabling seamless broadcasting directly to the platform.
Step 2: Create your scenes
In OBS, “scenes” represent different layouts for your stream. For example, you might have one scene for a full-screen face camera, another for gameplay with your camera overlayed in the corner, and so on. Customize your scenes by adding “sources” such as display captures, images, text, and more. The most commonly used sources include Video Capture, Window Capture, and Game Capture.
Step 3: Configure your audio
By default, OBS captures audio from your microphone and desktop. Make sure your microphone is set to the correct device and adjust the audio settings as needed for clarity and balance.
Step 4: Test your setup
Before going live, test your settings by clicking the “Start Recording” button. Record a short video to ensure your audio and video are working as intended. Playback the recording to confirm the quality and make any necessary adjustments.
Ready to Go Live
Once everything looks and sounds great, you’re ready to stream! Simply hit the “Start Streaming” button to broadcast live on your Twitch channel.
With OBS Studio, setting up your first Twitch stream is easier than ever. Follow these steps, and you’ll be sharing your content with the world in no time!
What OBS scenes should you create?
Getting started with OBS doesn’t require building out a ton of scenes. In fact, you only need three to begin:
- Main scene: This will be the scene you use most often. For gamers, this typically includes the game view, your camera feed, and any additional on-screen elements you want to feature.
- “Be Right Back” scene: Create a dedicated scene for breaks, both scheduled and unscheduled. It’s a simple way to keep your stream professional while stepping away.
- “Welcome” scene: This scene is for the start of your stream. Use a splash screen that displays for a few minutes to give viewers time to join and settle in before you dive into the main content.
Essential hardware for streaming on Twitch
Streaming on Twitch doesn’t require specialized hardware to get started. You’ll need two basics: a computer that can handle your content and a stable, high-speed internet connection.
If you’re playing modern games on high settings, you’ll need a stronger computer and faster internet — especially for online multiplayer games. Fiber-optic internet is ideal if it’s available and fits your budget.
You’ll also need a microphone to engage with your audience (a must for most streamers) and a camera if you want to appear on screen. For beginners, you don’t need expensive gear. The Shure MV6 is a great starter mic, and the Logitech C920 is a reliable, budget-friendly webcam.
If you’re streaming from a console or another computer, a capture card is essential to display footage. The Elgato HD60 X is a solid, user-friendly option, though it doesn’t work with Mac computers.
With these essentials, you’re ready to start streaming on Twitch.
Do you need a second monitor to stream on Twitch?
Many streamers use two monitors: one for the content and one for the stream interface. For instance, if you’re gaming in full-screen mode, a second monitor lets you keep an eye on chat and engage with viewers without interrupting gameplay.
A second monitor isn’t mandatory but is extremely helpful. Without one, you can use the Twitch app on your phone as a workaround.
If you’re looking for a solid monitor, the ASUS TUF Gaming 27” 1440P Monitor (VG27AQL3A) is a great choice. If you want flexibility, the Fully Jarvis Single Monitor Arm is excellent for mounting.
How much does it cost to start streaming on Twitch?
The cost of starting on Twitch varies, but let’s break it down. If you already have a PC that can stream, you’re ahead. OBS Studio, a popular streaming software, is free.
Investing in recommended gear — a good microphone, a reliable camera, an Elgato HD60 X, and a second monitor — costs about $650 (plus taxes). The monitor is the biggest expense.
You don’t need to spend a fortune to get started, but using a basic headset mic or skipping a camera may result in a lower-quality stream. Even a modest setup ensures a stronger foundation and reduces the need for early upgrades.
Next steps and upgrades for your Twitch streaming setup
Once you’ve got your basic gear and software, you’re ready to stream. But some upgrades can improve your experience and content quality.
Add a second monitor
A second monitor is one of the best upgrades you can make. It helps you manage chat, alerts, and tools without disrupting your stream.
Stream decks: A streamer’s best friend
A device like the Elgato Stream Deck connects via USB and offers customizable buttons for quick actions, like switching to a “Be Right Back” scene in OBS. It streamlines your workflow and keeps your stream running smoothly.
Audio upgrades for better sound
Upgrade your audio with a better microphone like the Audio-Technica ATR2100. Add a boom arm or swivel mount for better positioning, and pair it with an XLR mixer like the Focusrite Scarlett 2i2 for enhanced sound quality and control.
Camera upgrades for sharper video
For better video quality, try the Elgato Facecam MK.2. It delivers sharp, professional visuals to help you stand out.
Take your streaming to the next level
Upgrading your streaming software can boost your stream’s quality. Advanced features like overlays, alerts, and interactive elements create a more engaging experience for viewers. With a polished production, you’ll attract sponsorship opportunities and monetize your stream as your audience grows.